5 Easy Steps to Recovering a Chair Seat.

This was my desk chair:

It's a dining room chair from my great-grandmother's dining table. This poor chair has seen a lot. A pair of them came to me from my Gram's basement when I was about 14 years old, complete with deep walnut-stained wood and a seat covered in red velvet / velour. I was in a furniture painting phase at that age and quickly painted them white and covered the chair in this plaid fabric. Then when I was in college I decided to strip the chair and stain it. (Have you seen how detailed this chair is? Thus, the other one is still painted.) However, I didn't recover the seat again when I changed the wood. That's about 20 years on this cushion and needless to say, just about all the spring was gone from the foam pad underneath. I didn't even notice that the fabric was ripping and tearing until I decided to give it a refresh while redoing the office.


Recovering a seat like this is an easy task, though, and can be done in under an hour and with just a few tools.

You'll need a staple gun, a screwdriver, a hammer, pliers, and a pair of scissors, as well as a new foam pad (I found mine in Walmart but they have them at Joann's and Michael's too.) and a piece of fabric that is large enough to wrap around the seat board. I used home decor fabric just because it's a little bit thicker and tougher than regular quilting cotton.
Step 1: Remove the seat from the chair:

Turn the chair on its side to locate the screw holes, one in each of the corner braces. Use a screwdriver to remove the four screws and remove the seat board from the chair.
Step 2: Remove the old seat covering:

How your fabric is attached to the seat board will determine how you remove it, but it's probably going to involve some form of heavy duty staples or tacks. Mine was stapled, so I used the pliers to pull up the staples, remove the fabric, and take up the foam pad.
Step 3: Set up your new covering:
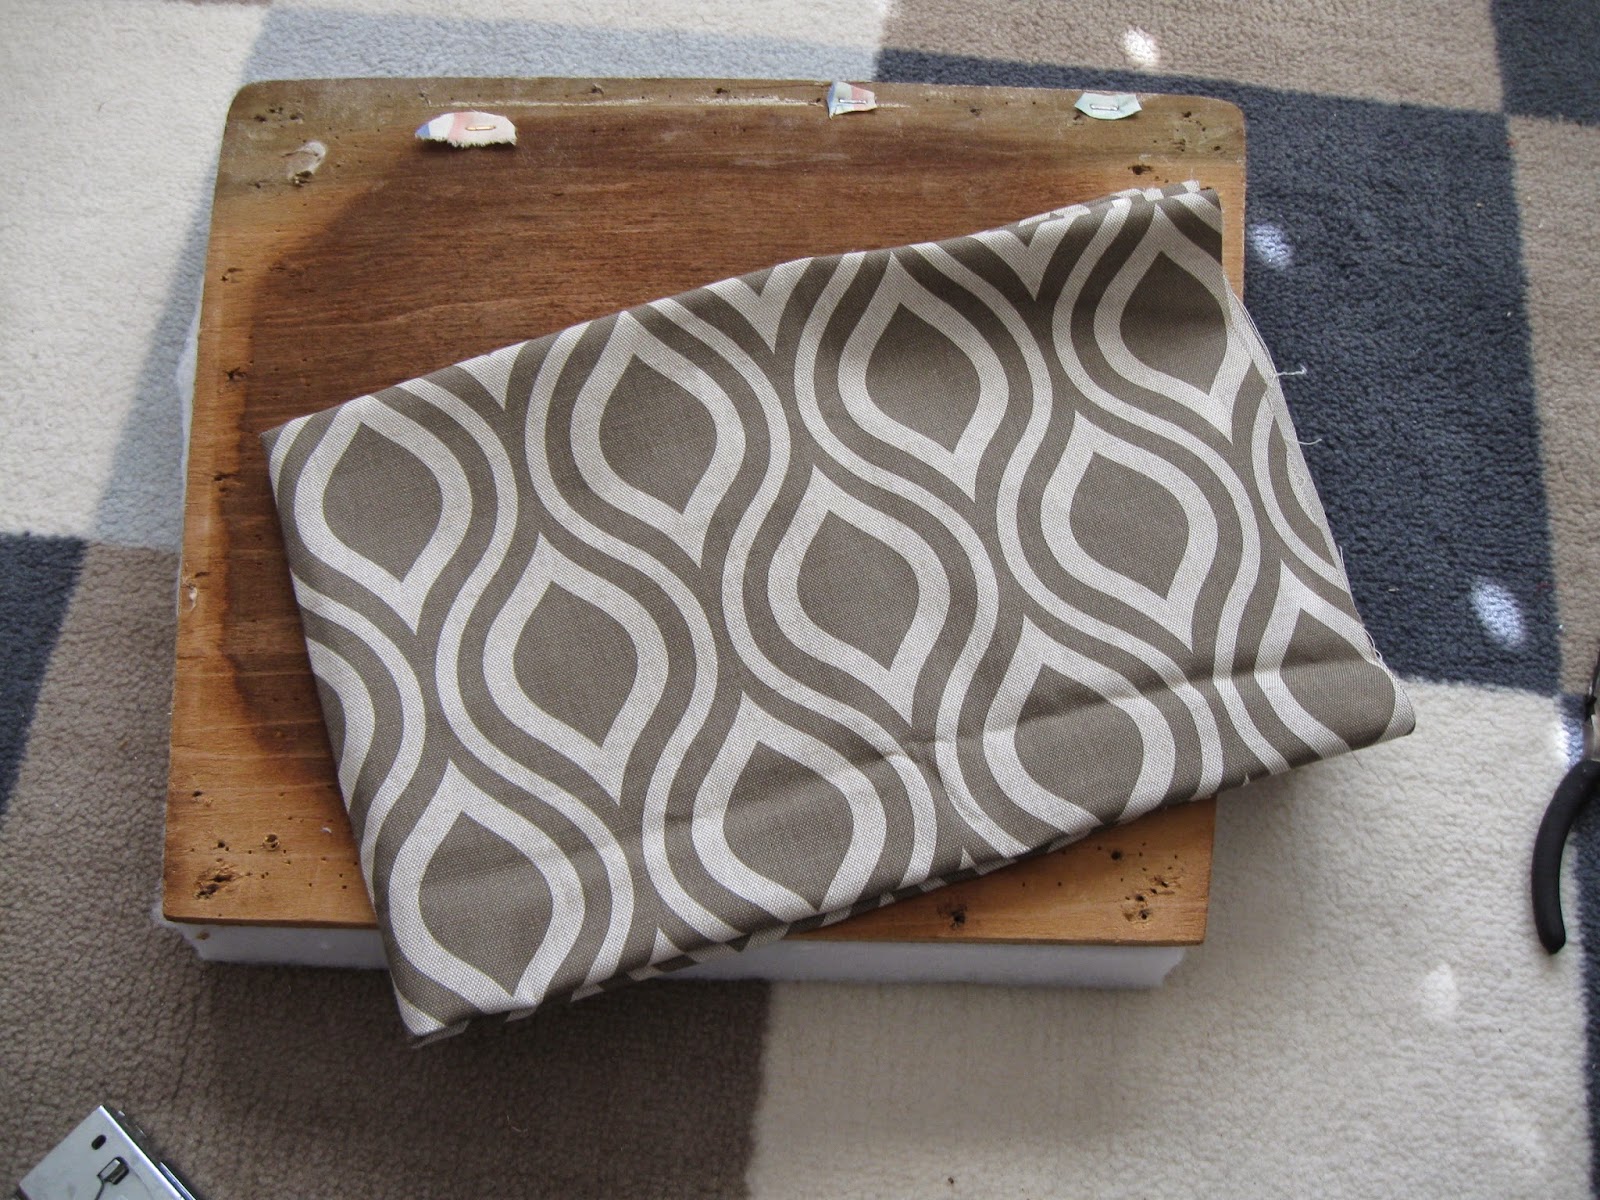

Iron your fabric, trim your new foam pad if necessary, and make a stack. Turn your fabric wrong-side up, place the foam pad in the middle of it, then place the seat board on top of it. Make sure everything is centered and squarely layered.
Step 4: Attach the new fabric:


Pull one side of the fabric around the stack and use the staple gun to attach the fabric to the board. (If your staples don't go all the way in, give them a hand with the hammer.) Then pull the opposite side of the fabric around, and, pulling it tight, staple that side down. Do the same with the other two opposite sides.
Pull or fold the corners so the fabric is pulled tight and staple them down. You can either pull the fabric back flat, or you can make a fold like a wrapping paper corner, which is how I did my chair.
Step 5: Reattach the seat to the chair.

With the chair still on its side, align the seat and screw the four screws back into the seat base. Turn your chair over and admire it.

This one small change helped modernize my chair and brought it up to the level of my new workspace. The pattern is bold but the neutrals keep it under control, and they coordinate so nicely with the wall color and the rug. I love it and the new foam pad makes it much more comfy to sit on while I'm sewing.
Have you ever done a seat cover update?


nice!! That was easy. Now the chair will last forever because then you can just keep replacing the cushion.
ReplyDeleteThanks! I love the chairs, and this will keep them in modern shape. Plus, the fabric was a scrap and the pad wasn't too expensive, so it was a cheap re-do!
ReplyDeleteLove the new fabric! Crazy how such a simple update can give a chair new life.
ReplyDeleteOoooh, I love that fabric. It's amazing how a small update like that can really transform a piece. And high-five for stripping the paint off! I tried that once and it was so terrible I'll probably never do it again.
ReplyDeleteThank you! I know- it's was amazingly simple to make it look nice again.
ReplyDeleteThanks! Stripping the paint was the worst, which is why the other chair is still white. I really should try and do it (maybe this summer) so they actually match. Maybe....maybe not. :)
ReplyDelete